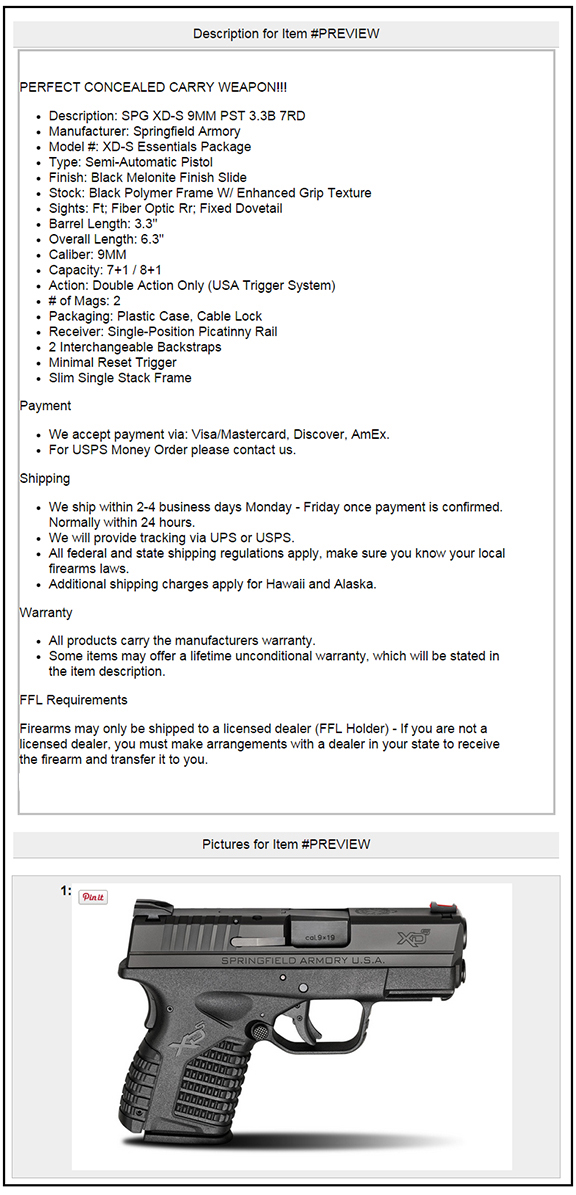
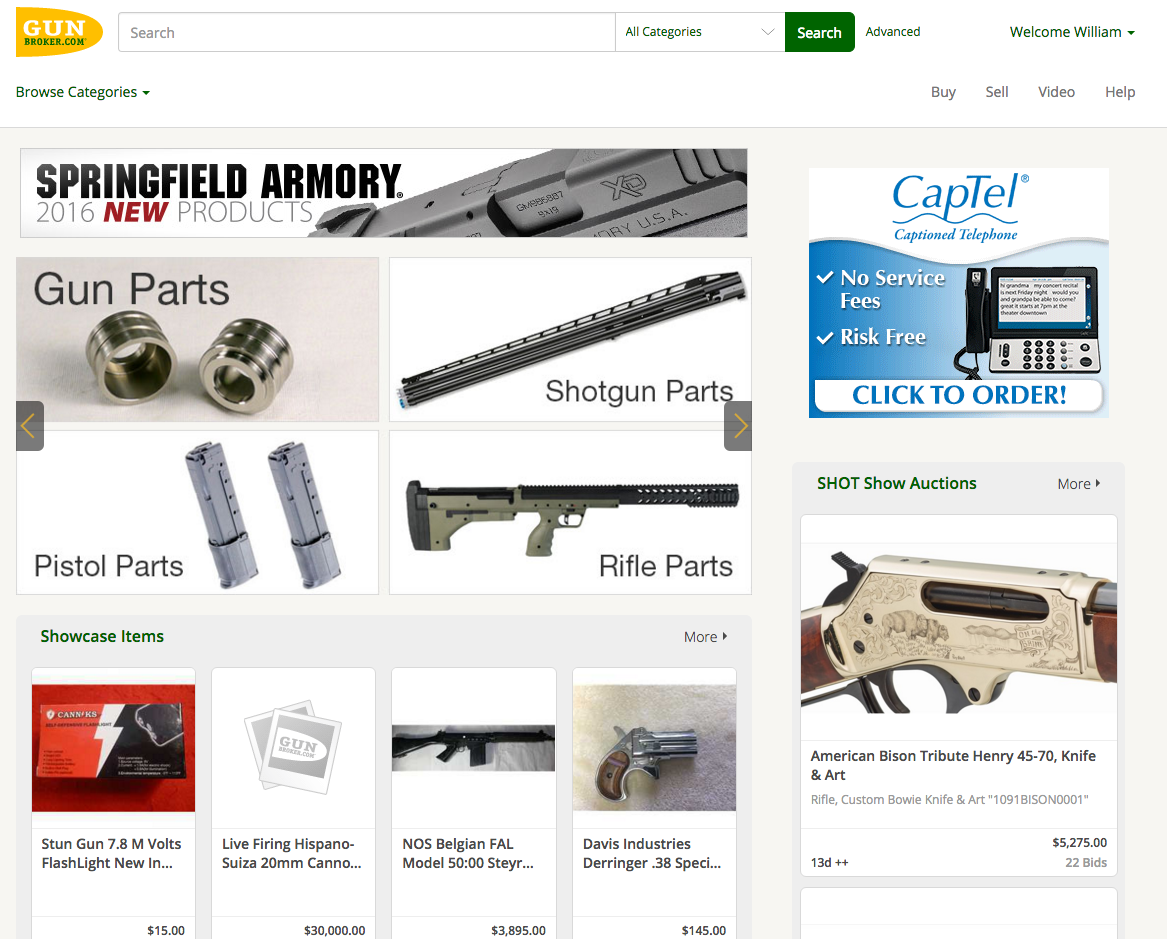
A standard listing on GunBroker.com allows for a text-based description space, but to really get your product noticed, take the extra few minutes to create an HTML layout. The HTML design will help establish your recognizable brand which buyers will remember … and look for on their next purchase, and the next, and the next.
Code Editor. A good, free program that will help you see code vs. text better is Notepad++. Unlike Notepad or WordPad, the code is in color (which you can ignore) and the text you will replace is in black.
Anytime you want to see what the file will look like, save the file, then select Run, Launch in … your favorite browser. Do this often to make sure everything is in place as you want it.
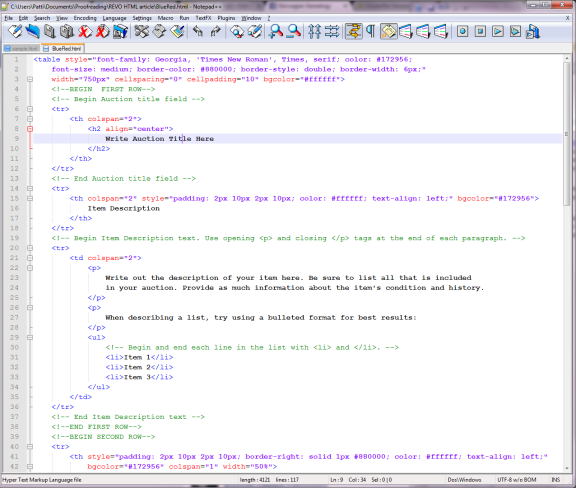
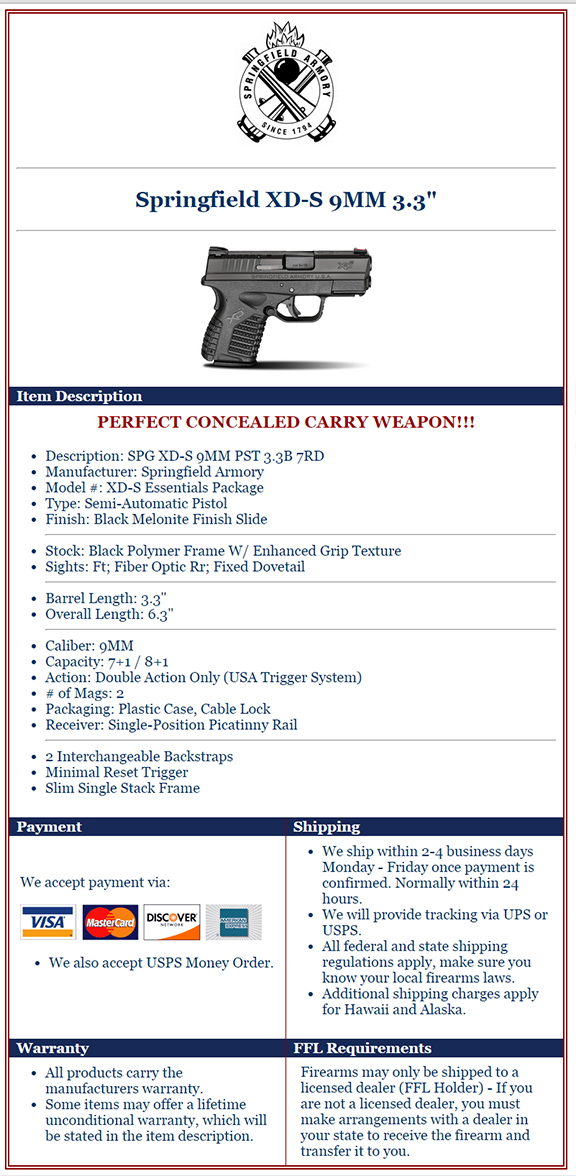
GunBroker.com offers a few stock templates. Grab one of those and follow the instructions for placing your information or, use this finished template. The GunBroker.com templates include sections for the Title, Description, Payment, Shipping, Policy and Other. Our sample adds space for your logo. To include your logo, upload the image to an image server like www.imgur.com, once uploaded, click on the image and copy the HTML URL to your template.
Create a Base Template. Complete the sections that will remain the same on all your listings including your logo then save the file as “base_template.html.” Also change the file type to html. You have just completed about 50% of the listing and never have to fill it out again!
For your next listing open the “base_template.html” file and first thing, save as “unique_name_of_product.html.” This ensures you won’t write over the base template. FYI: file and image names cannot have spaces when used on the Web. Standard practice is to use underlines.
Keep your look clean. When creating the Description section, group like items together, then give the listing some breathing room by adding a horizontal rule between like items as I did in the example. We do live in a 10-second world, so make sure that the most important things are listed first in each grouping. If the buyer can’t quickly find what they want to know, they will move on.
Use Visuals. To make the ad more appealing and to break up lots of text-only blocks, add images for payment methods. I found mine at http://www.credit-card-logos.com. Simply copy and paste the code for the correct set. Add text for any options not covered by images.
Branding. The best way to do that is by using your company’s logo and color scheme. By now you have the logo included in your base template, so on to colors. There are five colors used in this example: the overall background color (white), the outside border (red), the text (blue), the section headers (white) and the background color for the headers (blue). If you want to change those colors to your company colors, Wikipedia Web Colors has a great list with the hexadecimal codes. Colors must be listed with a # sign. So find each of those and replace with your new 6-hexidecimal color.
Once your code is set, Select All (Ctrl +A), Copy and Paste into the description box provided.
Success! You have completed your stepped-up listing which will brand your company, encourage buyers to view more of your listings, and ultimately increase your sales.
Horizontal rule: <hr> on its own line
Insert an Image:
- Resize the image to the desired result before uploading to www.imgur.com (I made the logo 145 px wide x 174 high and the gun image 300 px wide x 196 px high).
- Copy the HTML URL from www.imgur.com and replace line 9 in my template for the logo and line 18 for the gun image.
Color Codes:
- Border color: border-color: #880000
- Background color: bgcolor=”#ffffff”
- Text color: color: #ffffff


